The Sold to Account Code field refers to the code or ID of the customer/account that placed the order. The user can input the minimum and maximum length, which is the number of all characters in a string.
The system identifies the customer account for the order using the sender’s email ID. It then verifies whether the identified customer account is active by referencing client’s ERP data stored in the system.
To change the variation of the fields – such as Mandatory, Enabled, and Ignorable – perform the following steps:
- Tick the box next to the variation.
- Click Save Changes.
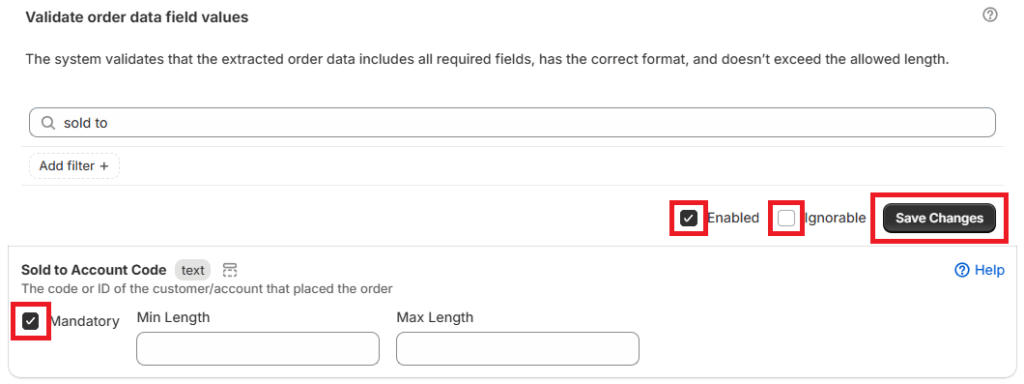
The different variations are as follows:
- Mandatory – the system will require the field/order data to be included
- Enabled – the business rule will be automatically applied to all orders processed by the App
- Ignorable – the variance will be flagged in an order, but the user can still export the order to draft
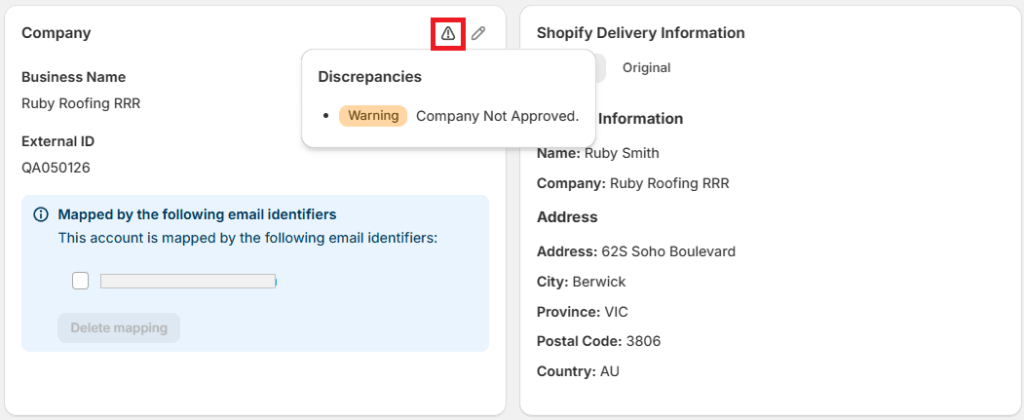
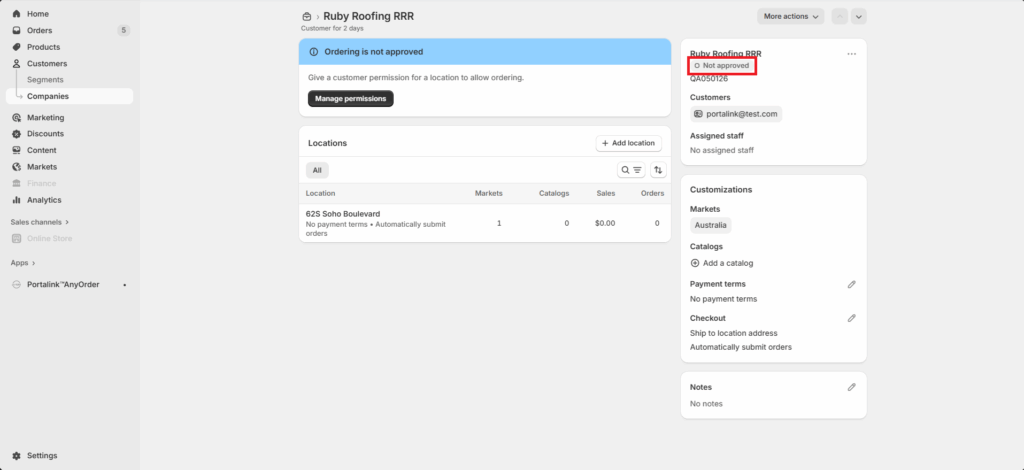
If the linked account does not have the ordering approved, it will be flagged as a variance on the order.
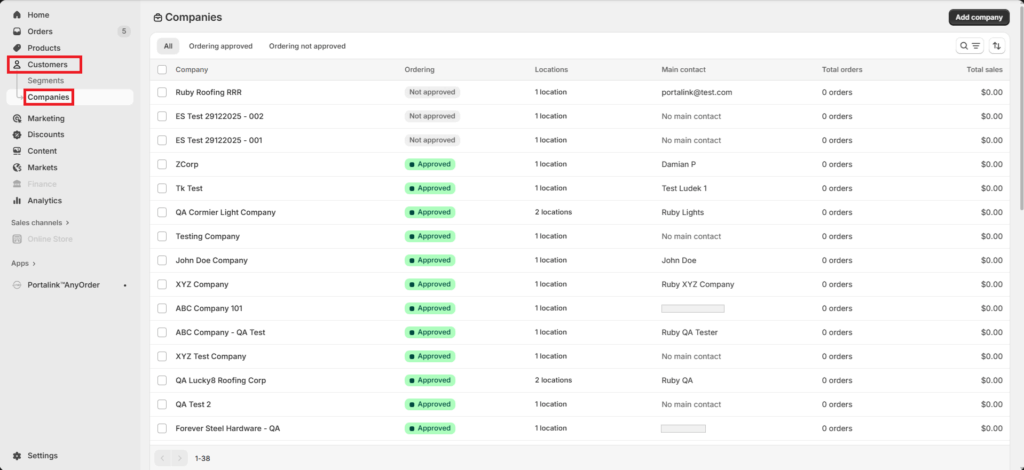
To approve a company or customer account, perform the following steps:
- Click Customers.
- Click Companies.
- Select the account by clicking the link under the Company tab.
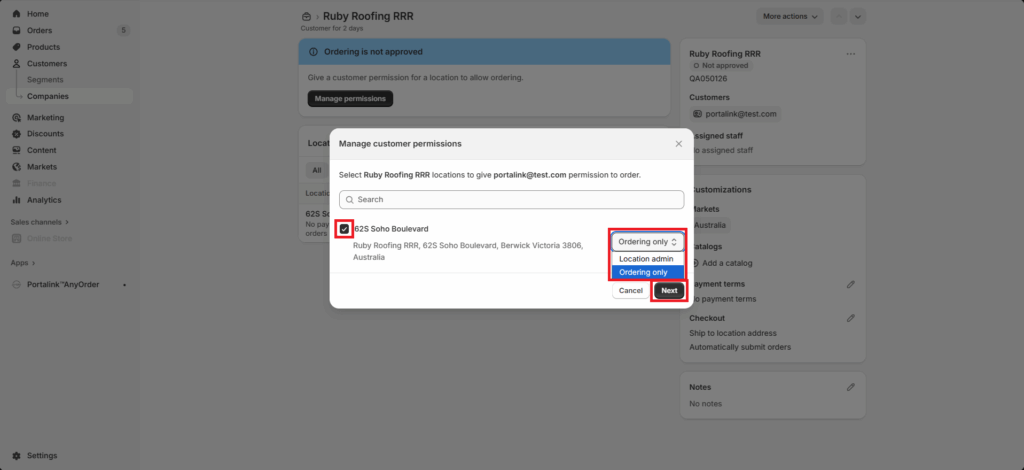
- Click Manage permissions.
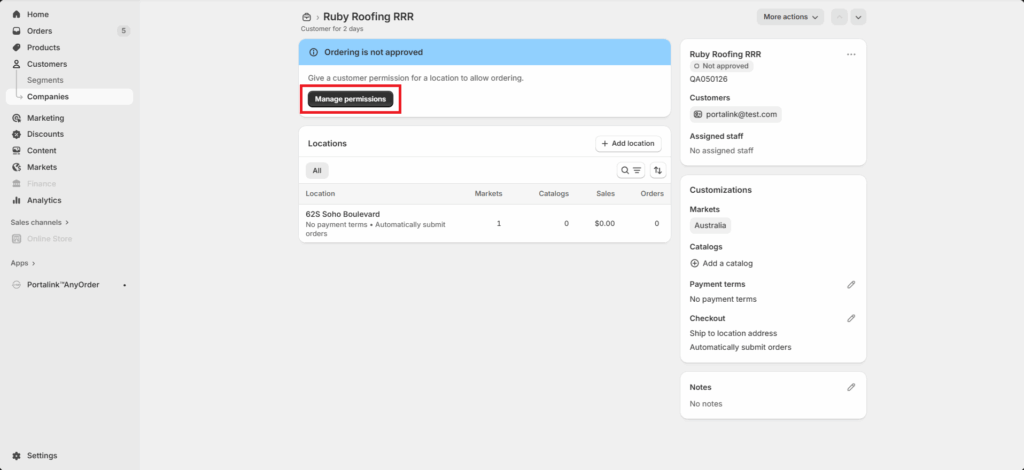
- Select the relevant company information by ticking the box next to it.
- Select the preferred permission (Location admin or Ordering only).
- Click Next.
- The user can choose to notify the customer that they can start placing orders by ticking the box.
- The user can also preview the email by clicking the Preview email button. The email template can be edited in the Notifications section in Settings.
- Click Save.
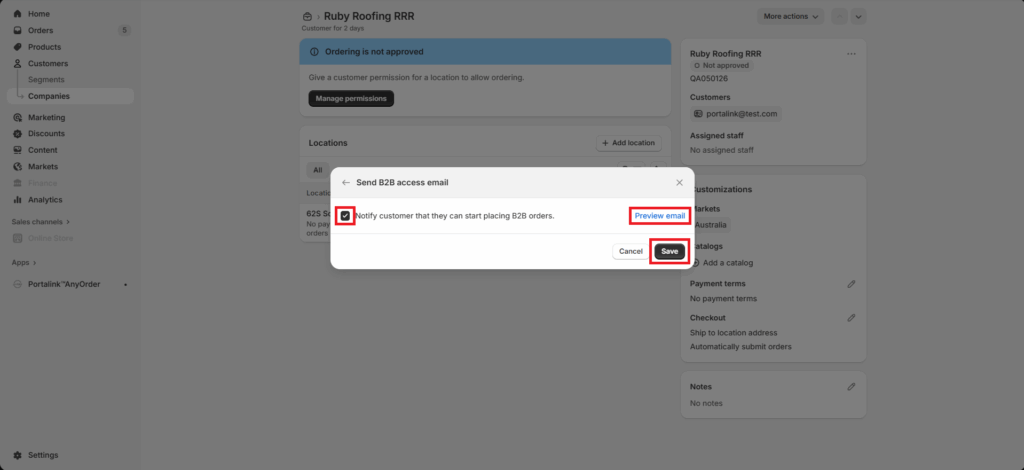
The account status will change from Not Approved to Approved.

To retract the approval of a company or customer account, perform the following steps:
- Click Customers.
- Click Companies.
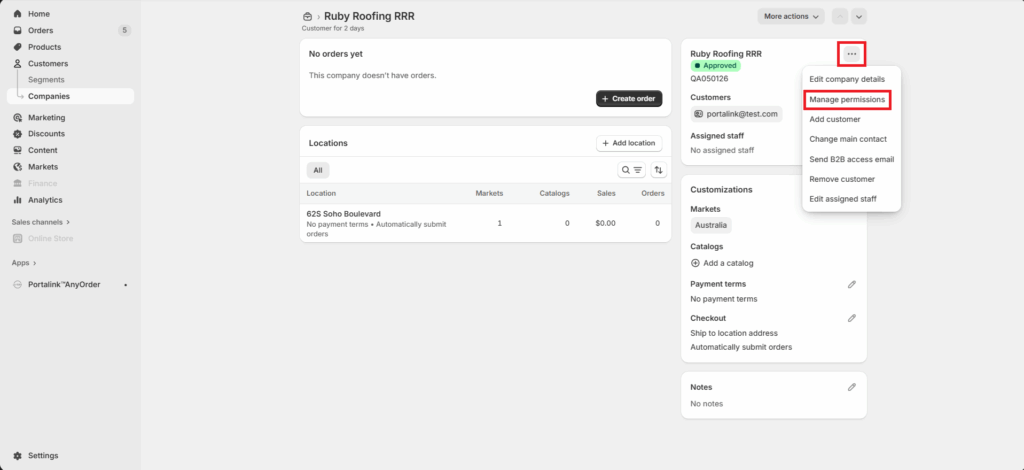
- Select the account by clicking the link under the Company tab.
- Click the three dots next to the company name.
- Click Manage permissions.
- Untick the box.
- Click Save.
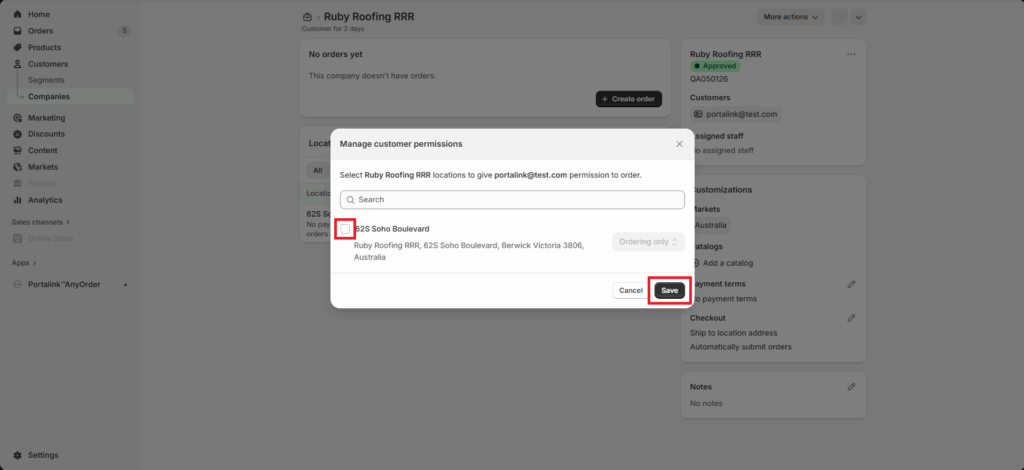
The account status will change from Approved to Not Approved.
Related article: Business Rules


