The Portalink™AnyOrder App identifies the customer or company account using the email address that is contained within the email message received from that customer or company.
When you set up the email-forwarding rules, the sender address will typically show as your forwarding inbox rather than the original sender. The actual customer email address will be embedded in the email body, which you’ll need to select to correctly link it to the customer or company account.
To prevent users from accidentally linking the emails to the incorrect company or customer accounts, it is recommended that an email blacklist is created and it is done before activating the email forwarding rules.
Creating the blacklist:
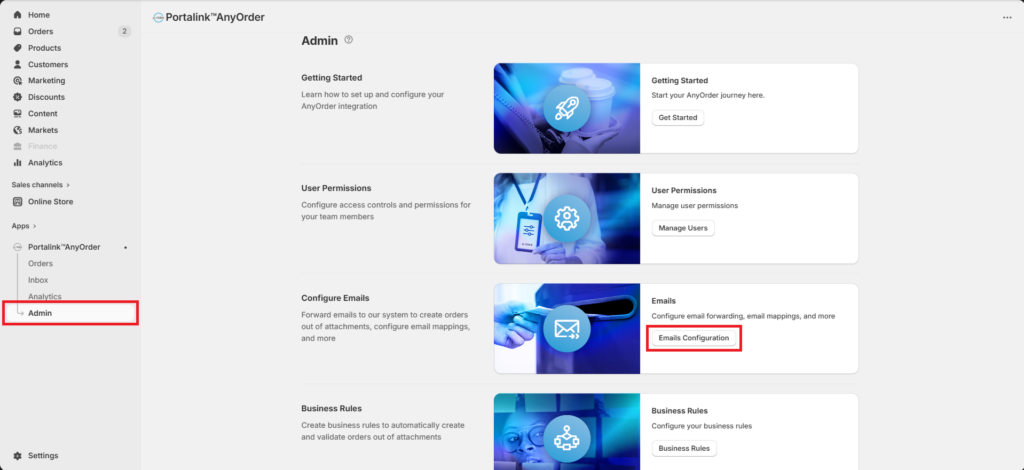
- On the Portalink™AnyOrder App, click on Admin.
- Select Emails Configuration.
- Input the email address to blacklist. Set the type: Auto Assign and or Document Link, they will need to be done separately. Either the full email address or the domain can be entered.
- Auto Assign – relates to automatically assigning the address to the customer or company account
- Document Link – relates to automatically assigning the address to the document template for that customer or company account.
It is recommended to add your merchant email domain to the blacklist, along with any other domains or email addresses that should not be linked to customer or company accounts.
- Click Add. The email address or domain will now appear in your blacklist.

Editing the blacklist:
- Select the email address or domain from the list under Blacklists by ticking the box
- Click the Delete button.
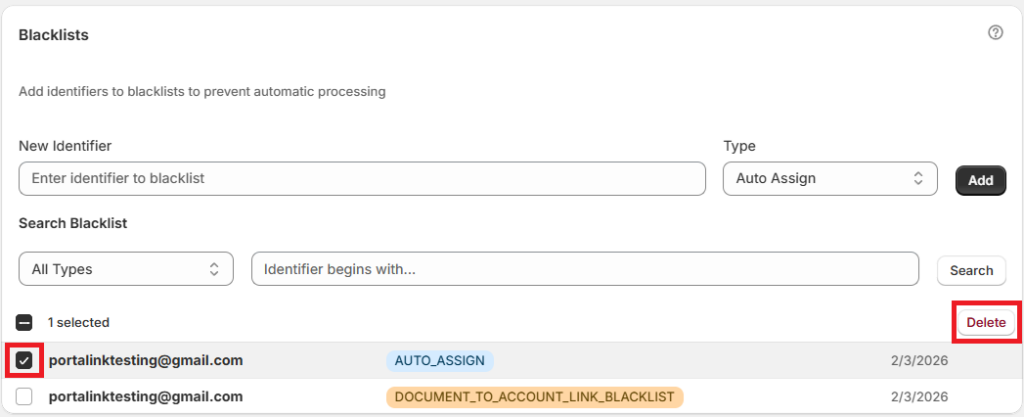
The email address or domain link will be removed from the blacklist.


